Guide to sending sales emails with HubSpot Sequences
Email sequences are a great tool for just about everything sales-related. From prospecting to following up to form...
Staying on top of tasks is even harder now that the days and weeks are starting to blend together. Productivity tools like Asana, Jira, Monday.com, and ClickUp can help you keep track of tasks and due dates, write down notes and action items, and get everyone on the same page.
I personally find Asana easy to manage my day-to-day tasks and collaborate with my clients—and the best part is that it's completely free. Here's how to get started with the free version of Asana for task management:
This is a no-brainer, but you'll need to have an Asana account to get started. While Asana's professional plans may offer great benefits, this blog covers how to get started with their free plan. You can sign up right on Asana's website.
On Asana's free plan, you can have up to 15 people in each team to collaborate with on projects. Set up your teams (e.g. Design, Marketing, Operations) and then invite the key people to each. As an agency, I created a team for each of my clients so that we can jointly manage deliverables, timelines, and updates.
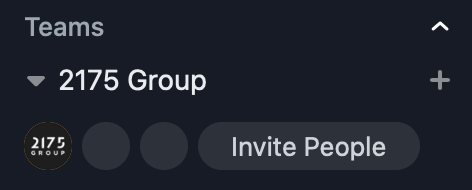
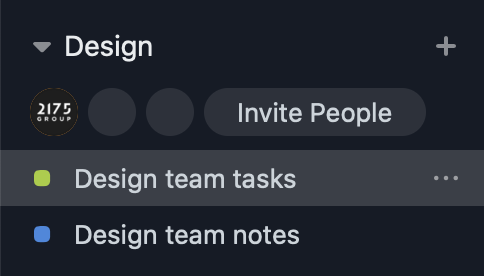
Once you've invited your team(s) to Asana, create the projects that you'll work on with that team. To keep things simple, I have two projects I typically use: [Client or team name] tasks and [Client or team name] notes. (I put the client's name in front of each of the project names to make it easier to connect Asana to Slack).
Here's an example:
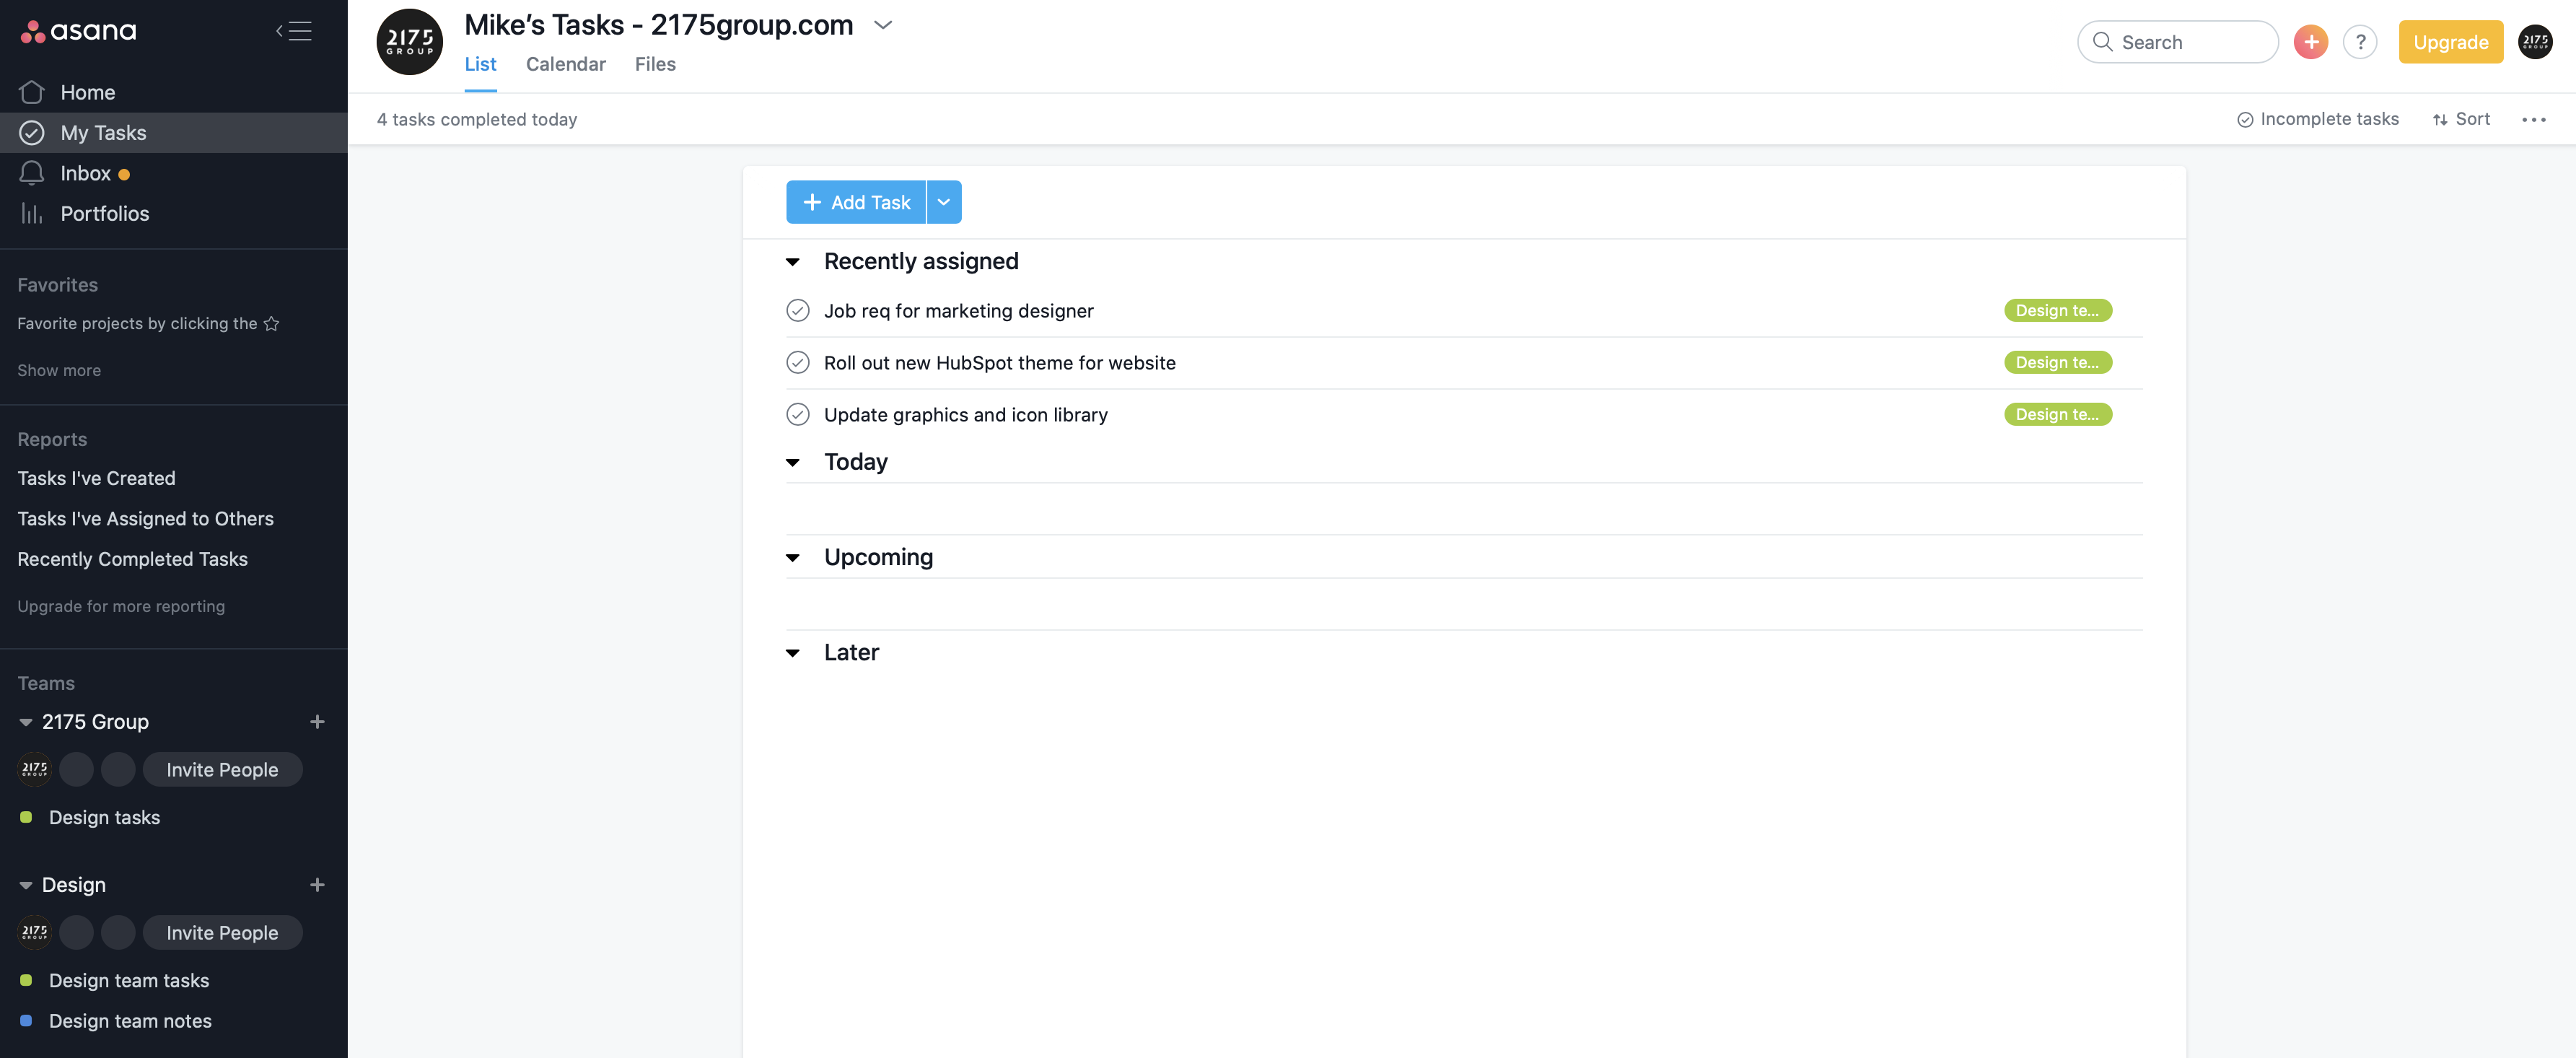
If you're just getting started, keep things simple. Yeah, you can use one of Asana's amazing pre-built templates, but to save time I typically start from scratch. I also prefer using the Board layout—it's a lot more visually appealing and helps me drag and drop stuff as I work on it.

My tasks projects each have four stages to keep it simple, clean, and straightforward:
Here's why I have a fourth stage, Done, even though you can make something complete in Asana: When you click the check on a task to mark it complete, you won't be able to see it anymore without updating your project settings. By default, the board is set to show Incomplete tasks. Just change that setting to All tasks to see everything.
Complex teams and projects may need more stages than those four, but I think it's easier to start small and grow when needed. Some other stages I've seen include Waiting, Blocked, Backlog, and Save for later. But those edge cases can be solved pretty easily without adding complexity:
Ok, I might be the only person who uses Asana for shared notes, but that's because I work with clients who all use different tools (e.g. Google Docs, Apple Notes, Evernote, and Confluence) to share notes.
Rather than asking everyone to standardize on a single note-taking solution, I use an Asana project and create individual tasks to put all the information, updates, and take aways from our weekly calls. The best part is now that you're already in Asana, you can end each meeting by adding the take aways as tasks in your Tasks project.
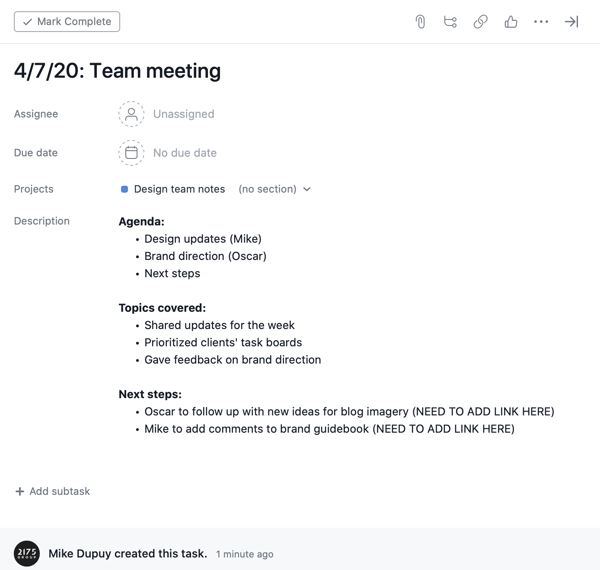
Before each weekly meeting, I like to share the task with the agenda with the team ahead of time so they can add comments to the task with topics they'd like to cover. It might now be as elegant as the in-line editing and collaboration you'd find in Google Docs, but it works.
Getting into this habit is great—and you can successfully run weekly calls online without switching between tabs on your browser.
Now that you have your projects set up, you can connect them easily to Slack channels so your team can collaborate and manage tasks all in once place. To do this, add the Asana app to your Slack Workspace.
Then, you can add the Asana app to individual channels where your team is working. Any time tasks are created, updated, or completed, the Asana app will automatically notify your Slack channel, making it easy to stay up to date without having to hop in the web app. You can also use /asana commands to create new tasks right from inside your Slack channel as well.
Hopefully this post gives you some ideas as to how you can stay on top of your tasks a bit easier. If you're already using Asana or other tools and methods to manage tasks, please let us know in the comments.
Want more free tools to increase your productivity? Check out our post, Getting started with HubSpot's free sales tools.